SIEM Home Lab with Elastic
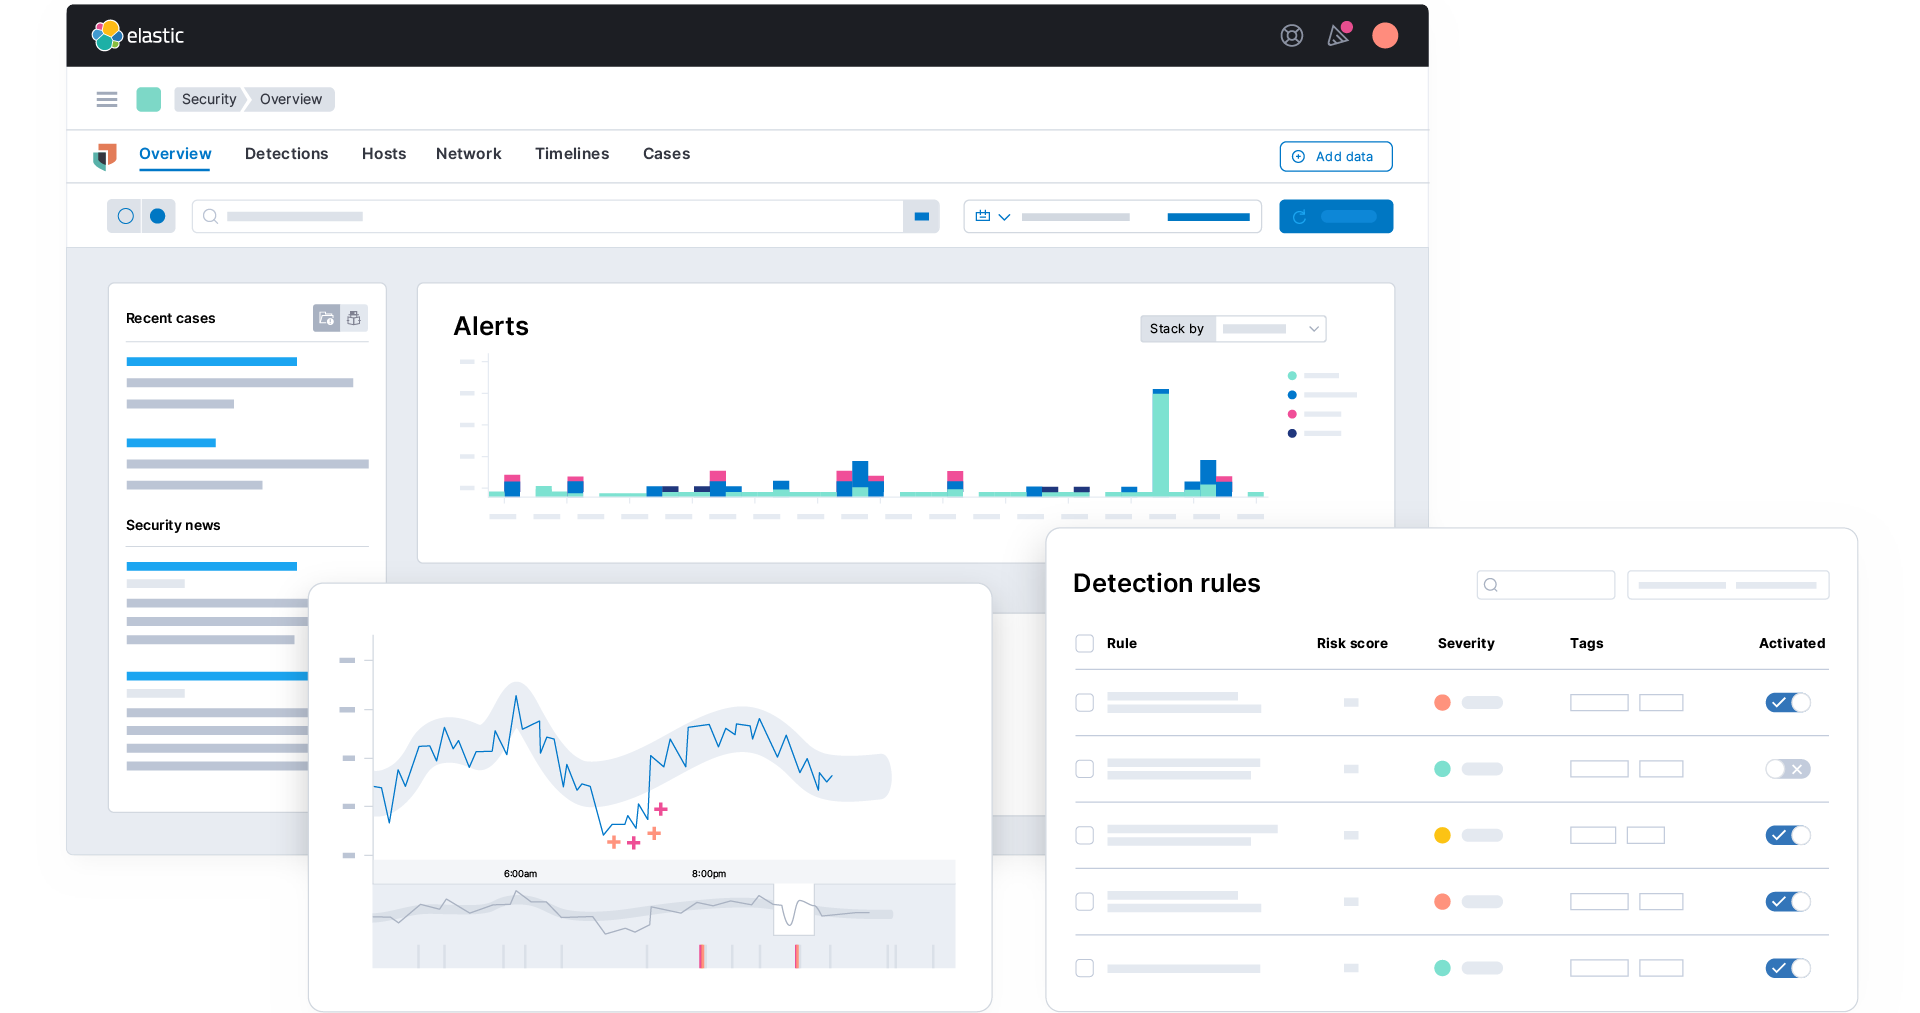
In this project, I have set up a home lab for Elastic Stack Security Information and Event Management (SIEM) using the Elastic Web portal and a Kali Linux VM. I also generated security events on the Kali VM, set up an agent to forward data to the SIEM, and query and analyze the logs in the SIEM.
Overview of the steps
- Set up a free Elastic account.
- Install the Kali VM.
- Configure the Elastic Agent on the Linux VM to collect the logs and forward it to the SIEM.
- Generate security events on the Kali VM.
- Query to find the security events in the Elastic SIEM.
- Create a Dashboard to visualize security events.
- Create alerts for security events.
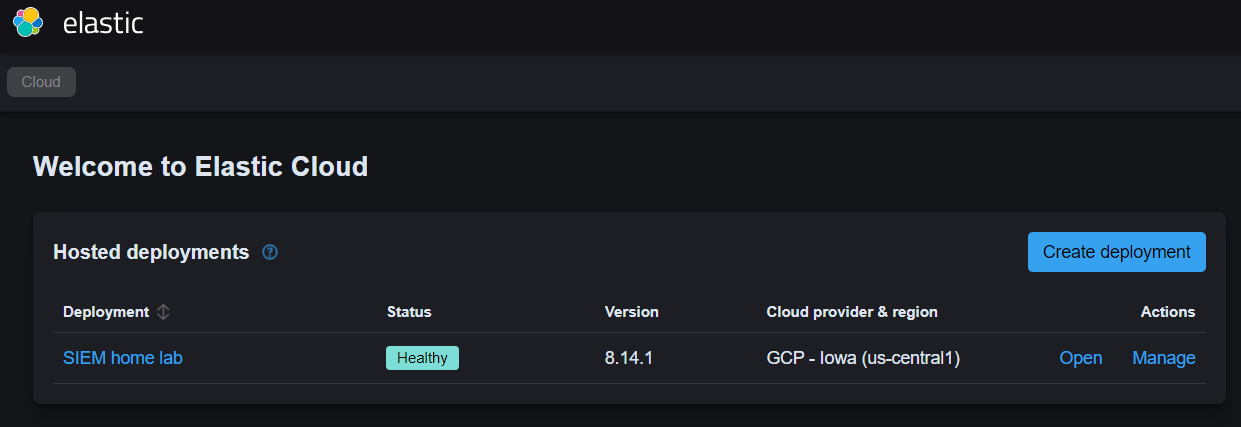
Step 1: Set up a free Elastic account
Let’s first create a free Elastic account by following the below steps:
- Sign up for a free trial to use Elastic Cloud at https://cloud.elastic.co/registration
- Start a free trial.
- Create an Elastic deployment, choose the region and deployment size.
Step 2: Set up Kali Linux VM
- Download the Kali Linux VM from the official website.
- Load the Kali VM file in preferred platform, such as VirtualBox and VMware.
- Follow the steps on-screen.
- Once installed successfully, log in with username and password as “kali”.
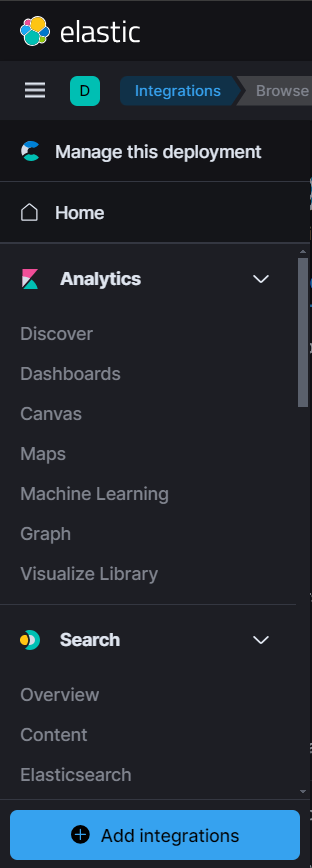
Step 3: Configure the Elastic agent
An agent is a software program that is installed on a device, such as a server or endpoint, to collect and send data to a centralized system for analysis and monitoring. In the context of Elastic SIEM, an agent is used to collect and forward security-related events from your endpoints to your Elastic SIEM instance. Let’s set up the agent on our Kali VM by following the below steps:
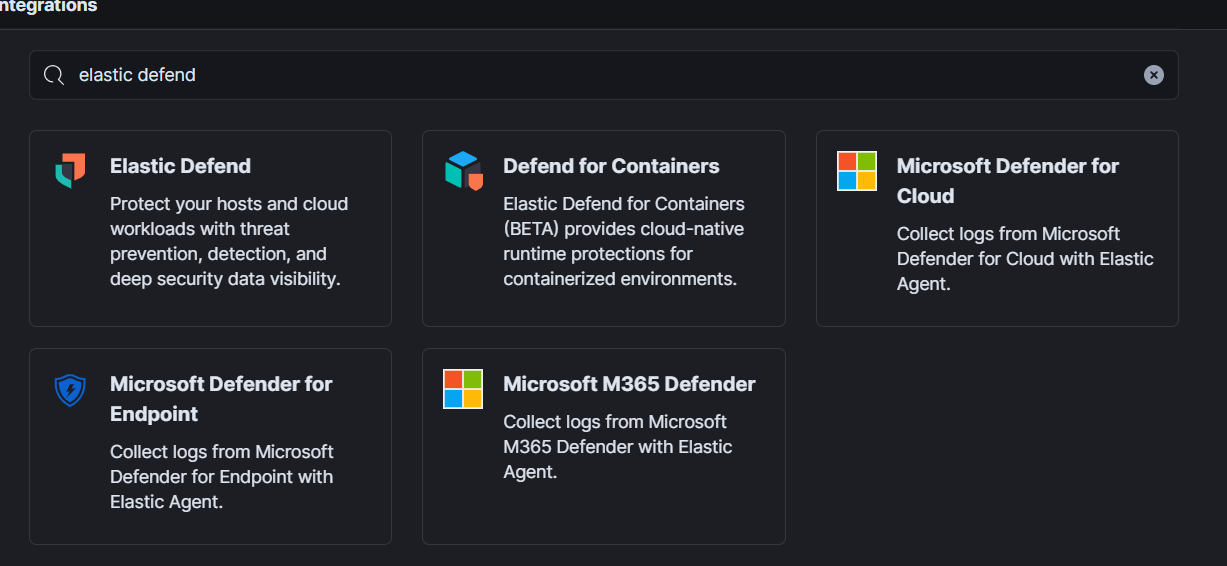
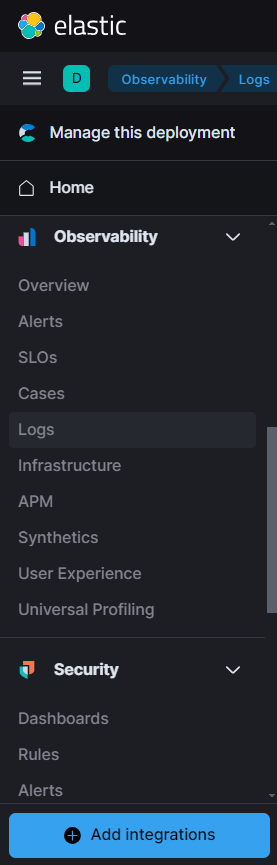
Click top left menu bar and then click “Add integrations”.
- Search for “Elastic Defend”, install it and follow the steps to get script.
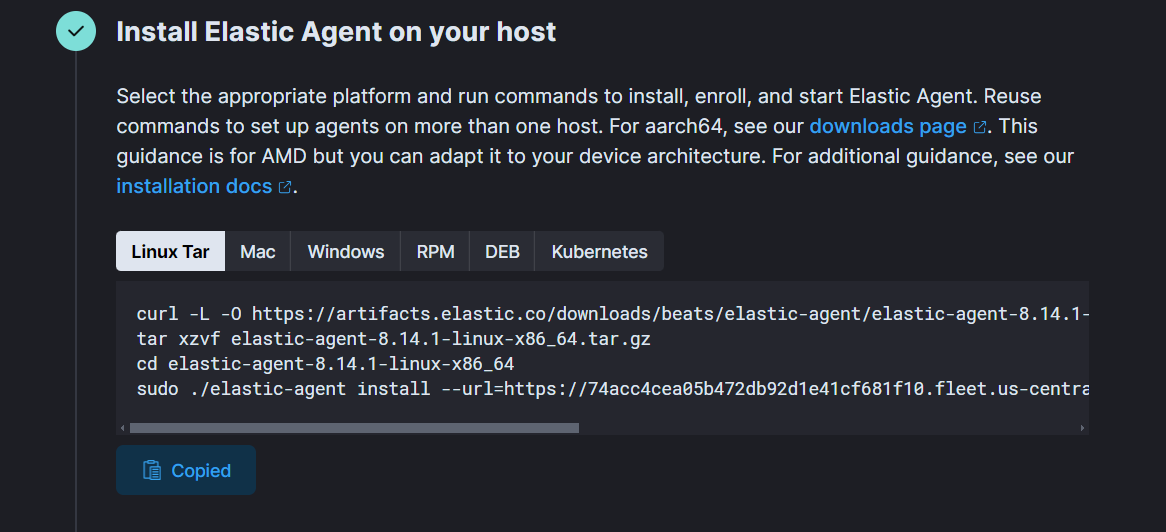
- Paste this script in command line on Kali VM. Once installed, check it by using command:
sudo systemctl status elastic-agent.service
Step 4: Generate Security Events on Kali VM
Now, we will create some events on our Kali VM so that it can reflect on our Elastic portal.
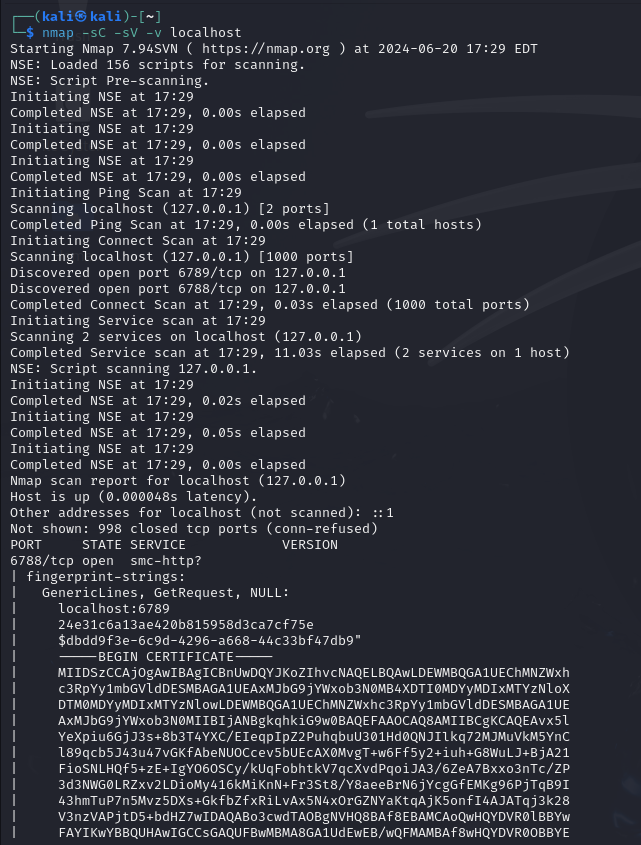
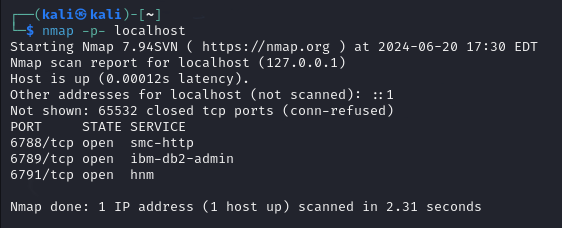
- We will use cmd tool called Nmap that is mainly used for port scanning.
- Run few nmap scans on Kali VM.
Step 5: Query to Find the Security Events in the Elastic SIEM
Now that we have generated few security events, we can start querying and analyzing the logs.
Click on the top left menu bar and click on “Logs” under “Observability” section.
- There are too many logs, to filter those logs related to our nmap scan, we can write this query in search field: process.args: “nmap”
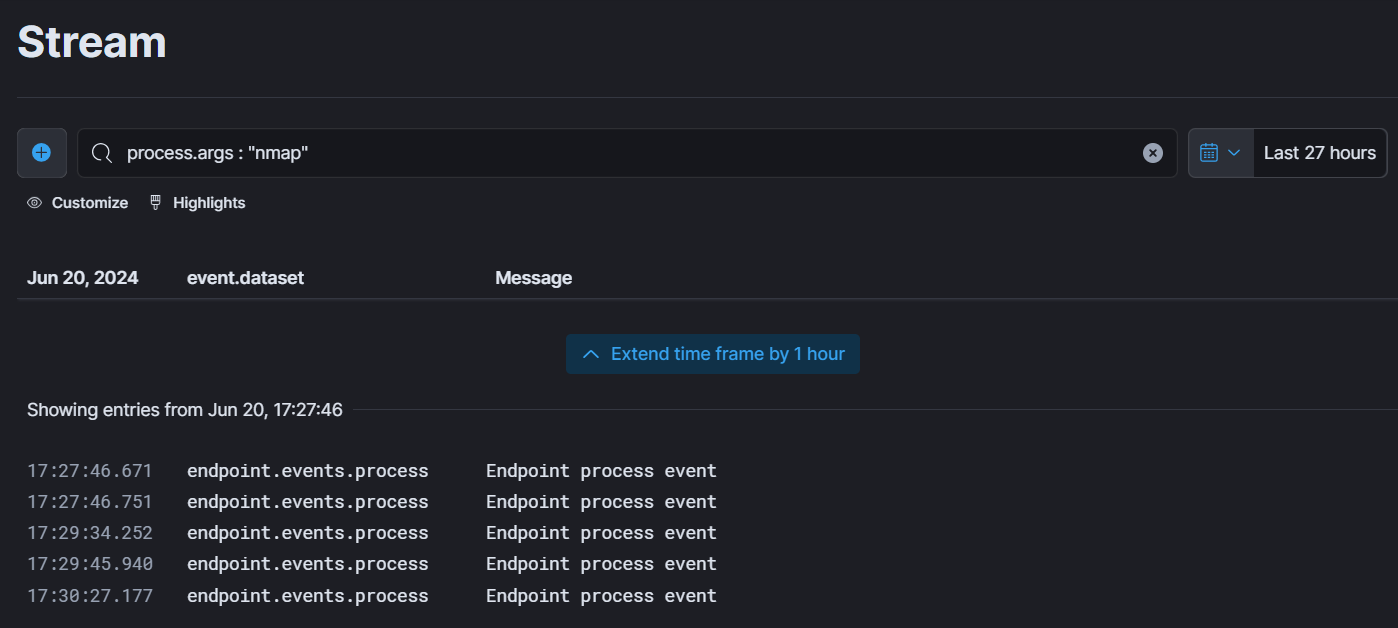
- We can see one log entry and can see any particular log. In this log, we can see which command we have used.
 This is crucial because by generating and analyzing different types of security events in Elastic SIEM like the one above, or generating authentication failures by typing in the wrong password for a user or attempting SSH logins an incorrect password, we can gain a better understanding of how security incidents are detected, investigated, and responded to in real-world environments.
Step 6: Create a Dashboard to visualize security events
We can also use the visualizations and dashboards in the Elastic SIEM to analyze the logs and identify patterns or anomalies in the data. For example, we can create a simple dashboard that shows a count of security events over time.
Follow the steps to do that:
Click on the top left menu bar and click on the “Dashboards” under “Analytics” section.

- Now, click “Create dashboard” and then “Create Visualization” to add new visualization in the dashboard.
- We can choose the visualization type, such as “Area”, “Line”, “Bar”, etc.
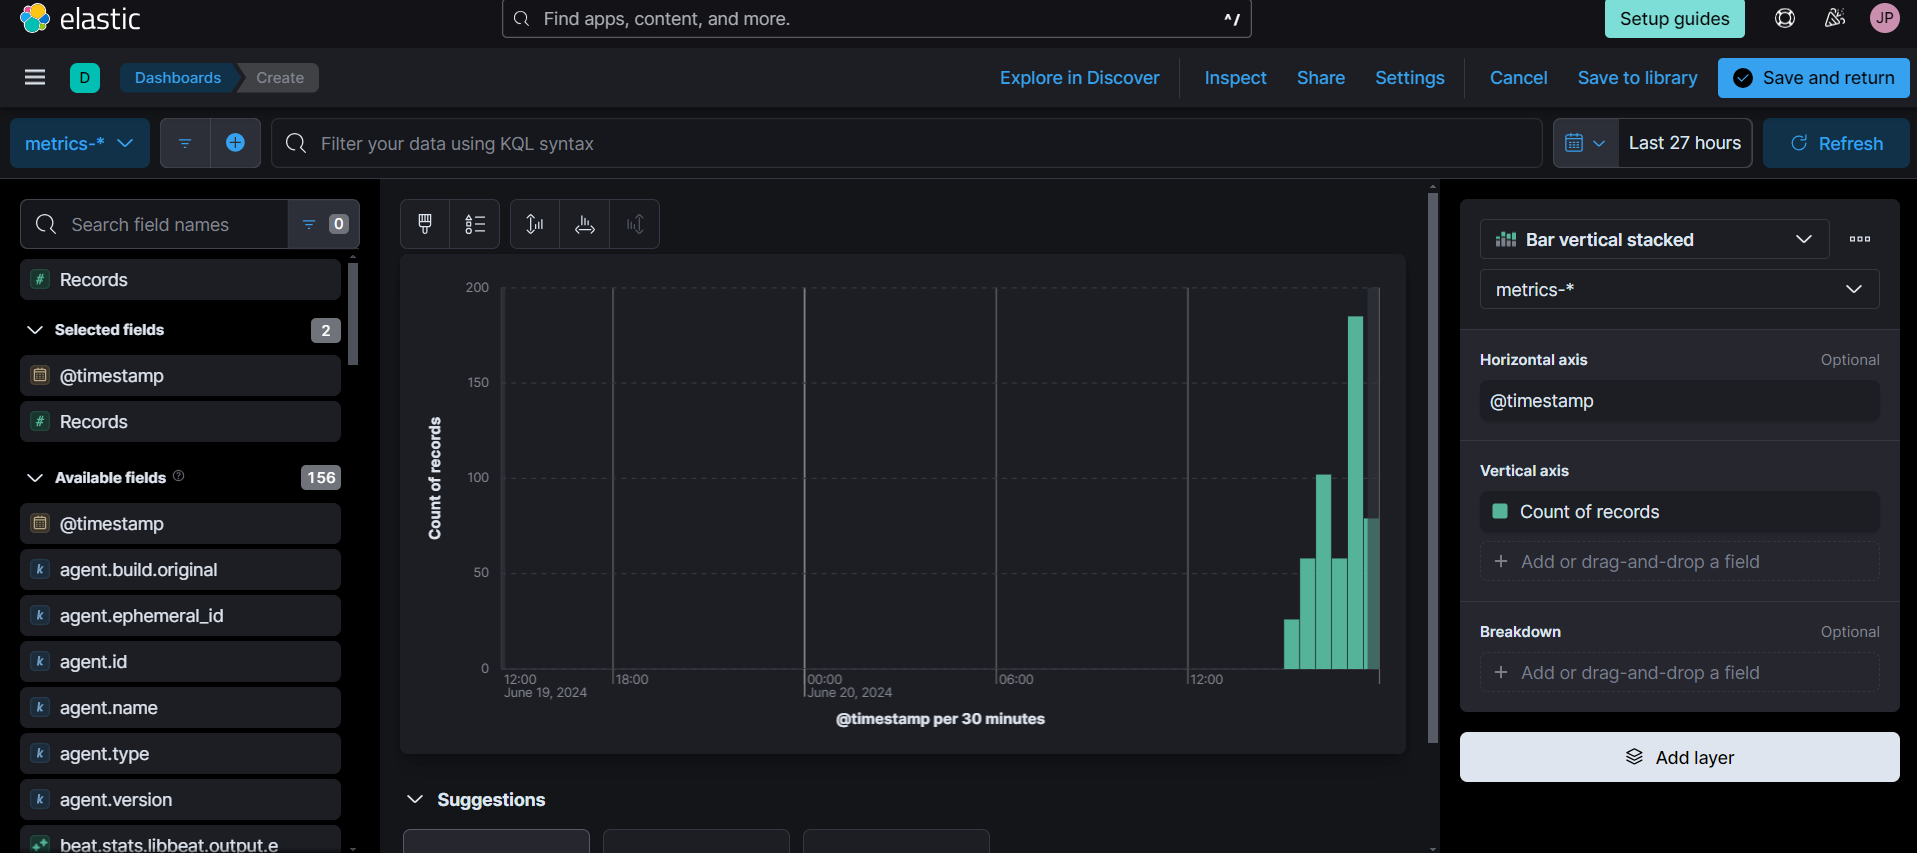
- Now, we can select what data we want to show on horizontal and vertical axes.
Step 7: Create alerts for security events
In a SIEM, alerts are a crucial feature for detecting security incidents and responding to them in a timely manner. Alerts are created based on predefined rules or custom queries, and can be configured to trigger specific actions when certain conditions are met. In this task, we will walk through the steps of creating an alert in the Elastic SIEM instance to detect Nmap scans and use of “sudo” command by regular user.
By following these steps, you can create an alert that will monitor your logs for Nmap scan events and then notify you when they are detected:
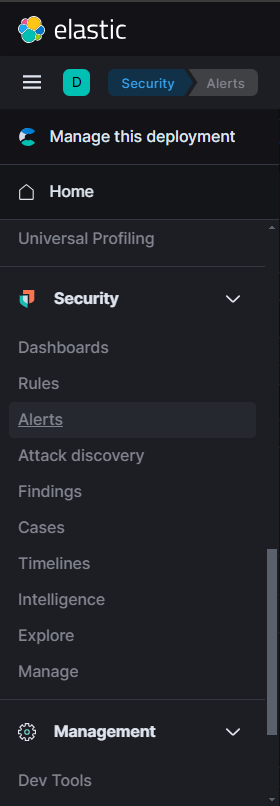
Click on the top left menu bar and click “Alerts” under “Security” section.
- Now, click on “Manage rules” and then click “Create new rule”.
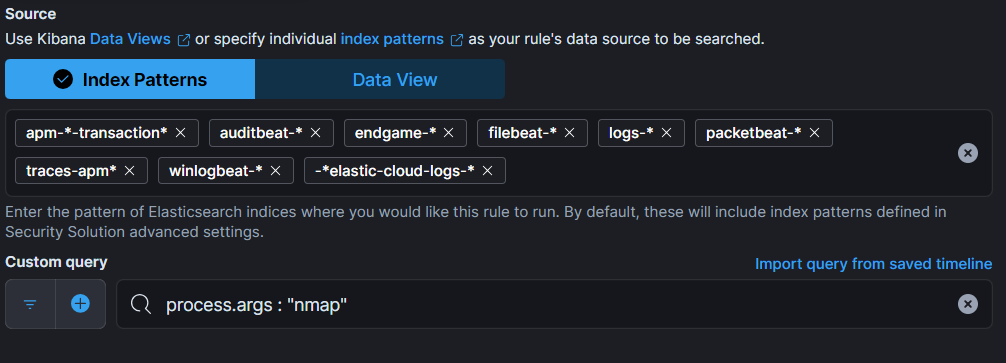
- Under “Define rule” section, select “Custom query” option.
- Under “Custom query”, set the condition for the rule. Write process.args: “nmap” to detect nmap scan events.
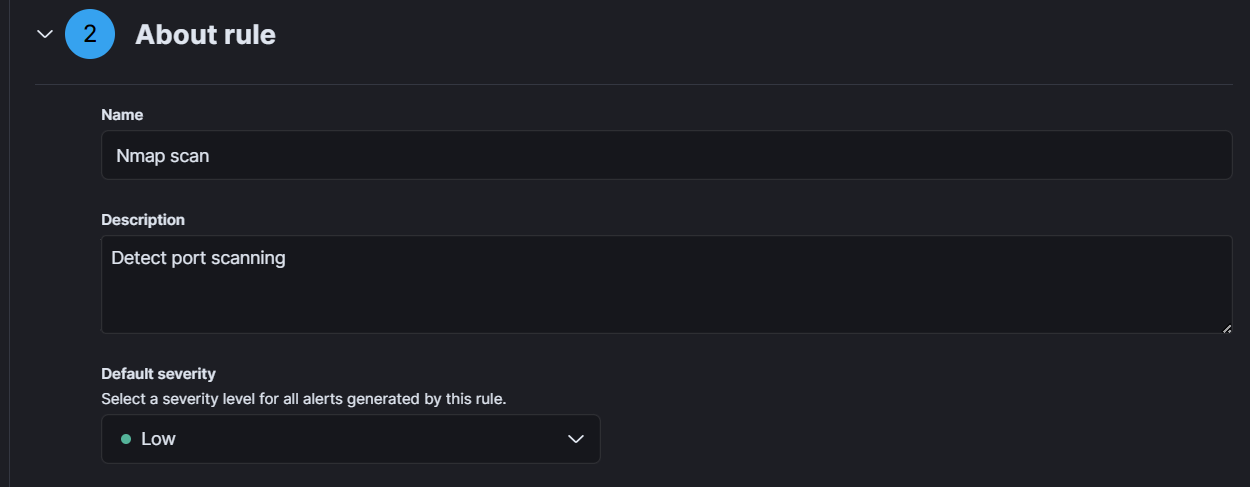
- In “About rule” section, write name and description of the rule and set the severity of the alert according to the importance.
- In the “Actions” section, select the action you want to take when the rule is triggered. You can choose to send an email notification, create a Slack message, or trigger a custom webhook.
- Finally, click the “Create and enable rule” button to create the alert.
- We can see rule overview by selecting particular rule in “Manage rules” section.
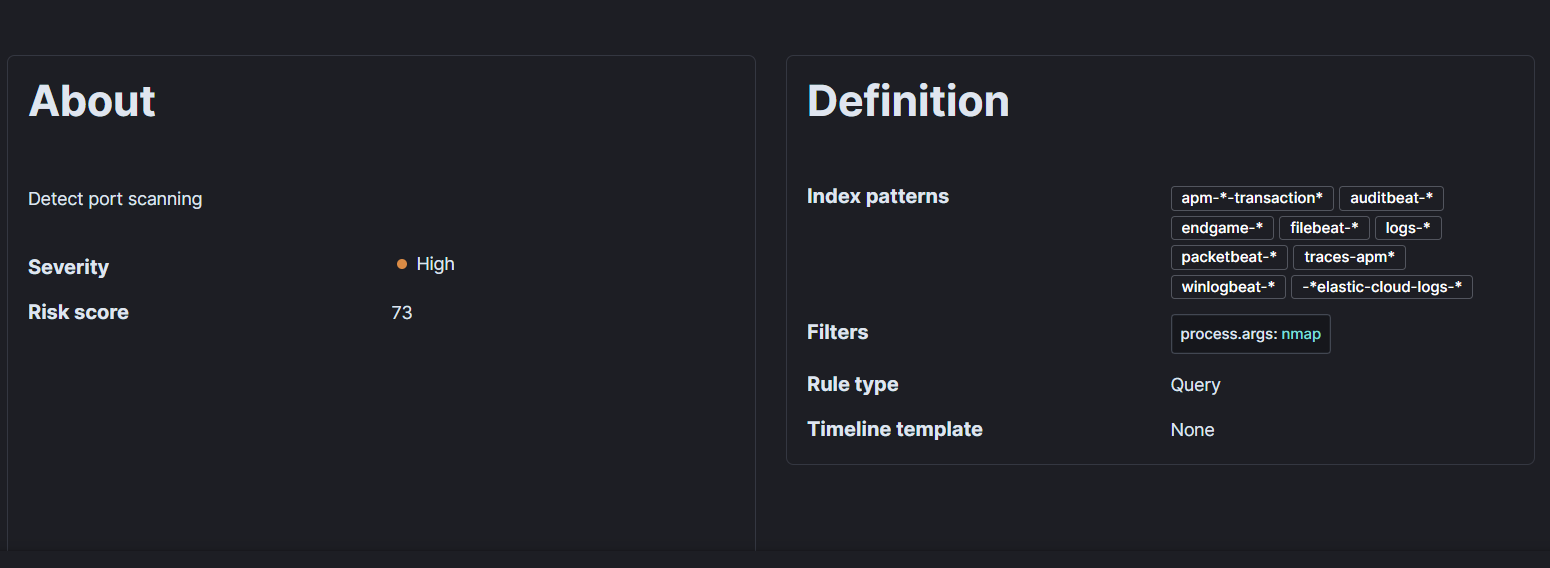
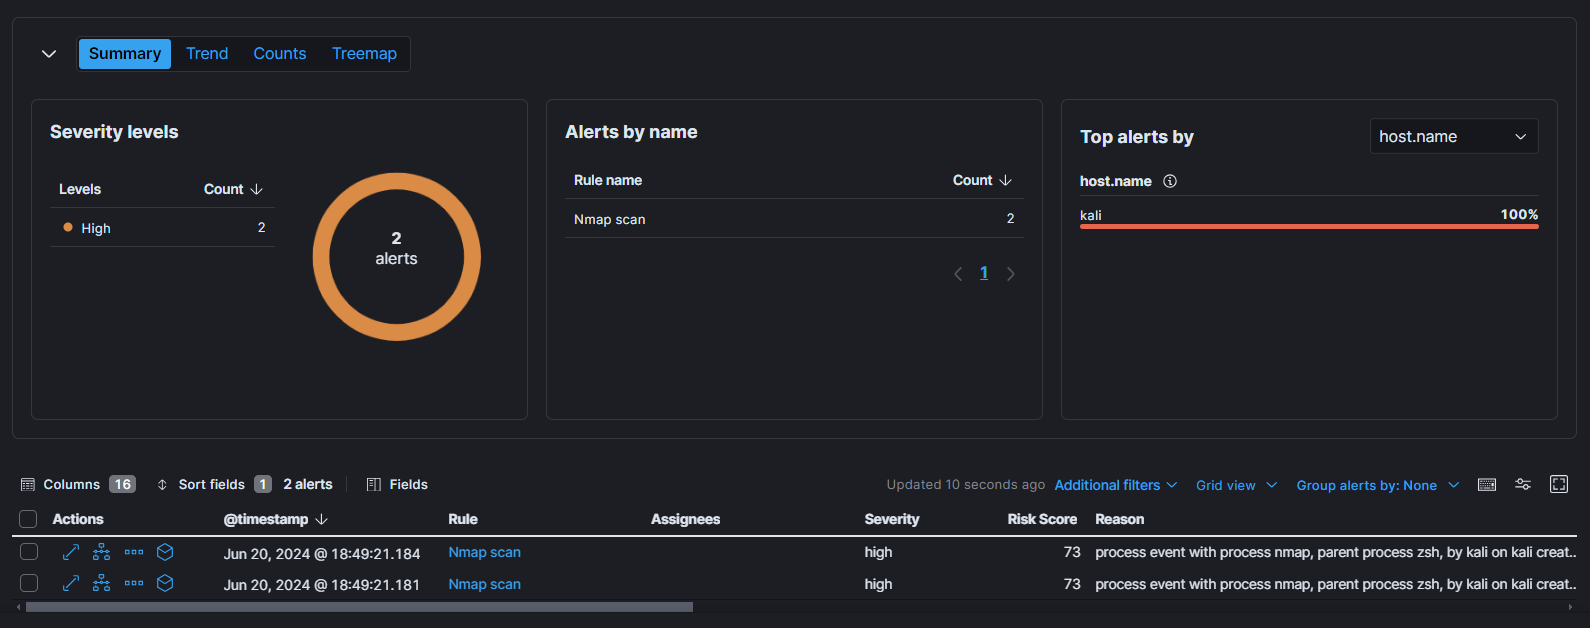
- This rule will monitor our logs for Nmap scan events. If an Nmap scan event is detected, the alert will be triggered and the selected action will be taken. We can view and manage your alerts on the “Alerts” section under “Security.”
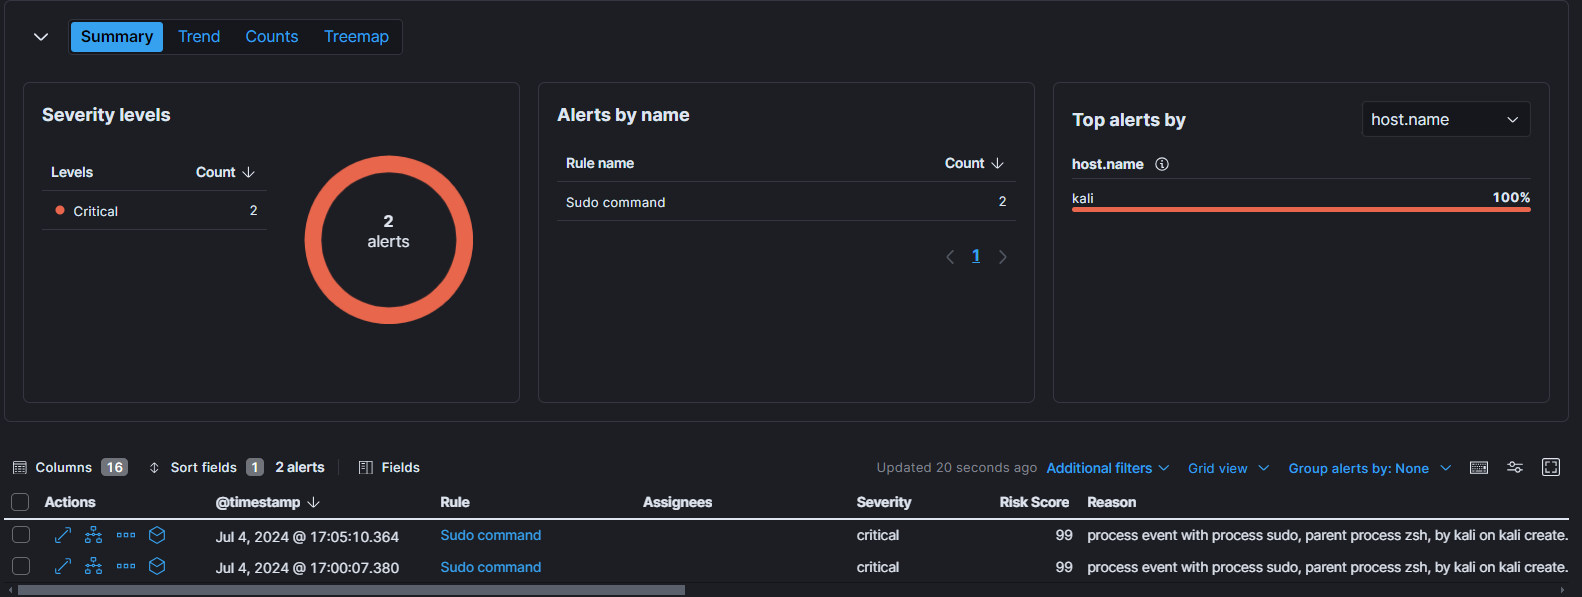
Now, we will create one more rule to detect the use of “sudo” command by normal user.
- We will follow above step and use this custom query for the desired detection: process.args: “sudo” and user.name: “kali”. And we will set the severity to critical as this is crucial alert.
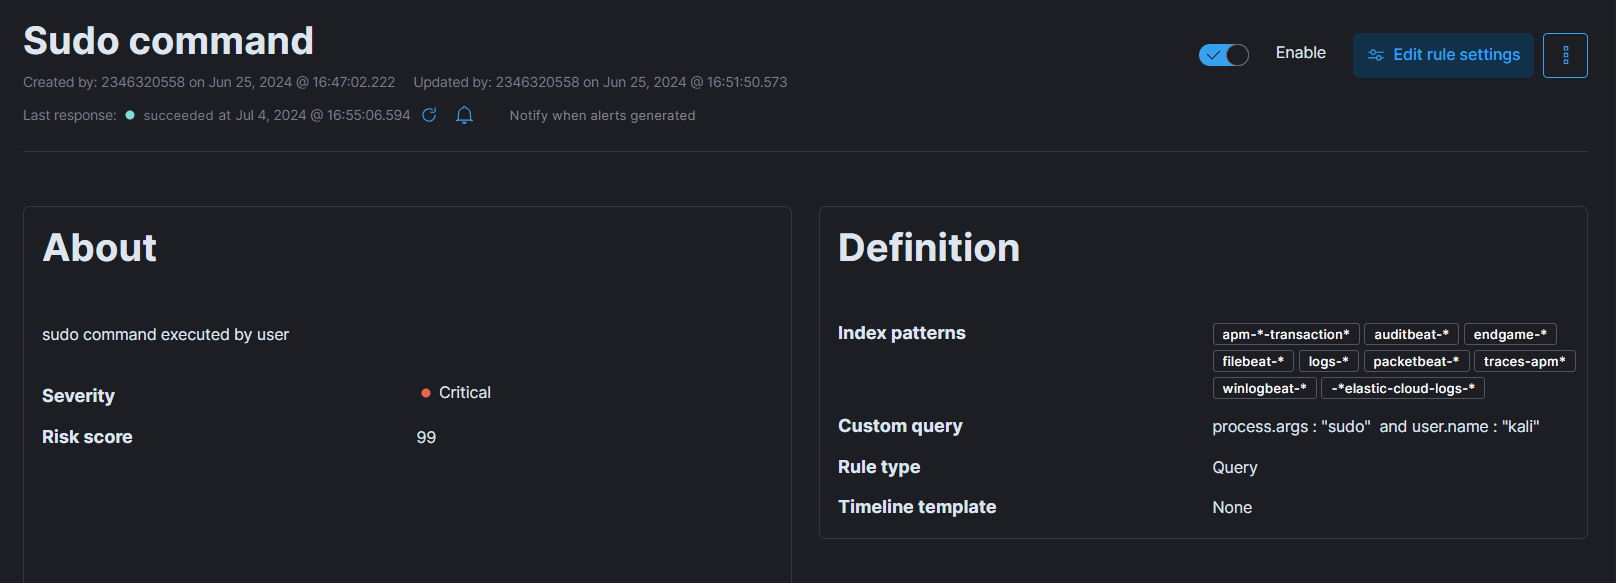
- In below image we can see we were successfully able to detect the use of “sudo” command by “kali” user.
Conclusion
In this project, we have set up a home lab using Elastic SIEM and a Kali VM. We forwarded data from the Kali VM to the SIEM using the Elastic agent, generated security events on the Kali VM using Nmap, and queried and analyzed the logs in the SIEM using the Elastic web interface. We also created a dashboard to visualize security events and then created an alert to detect security events.
This home lab provided a valuable environment for learning and practicing the skills necessary for effective security monitoring and incident response using Elastic SIEM. By following these steps, I got hands-on experience with using a SIEM and improved my security monitoring skills.
Reference: A Simple Elastic SIEM Lab
Thank you for reading.